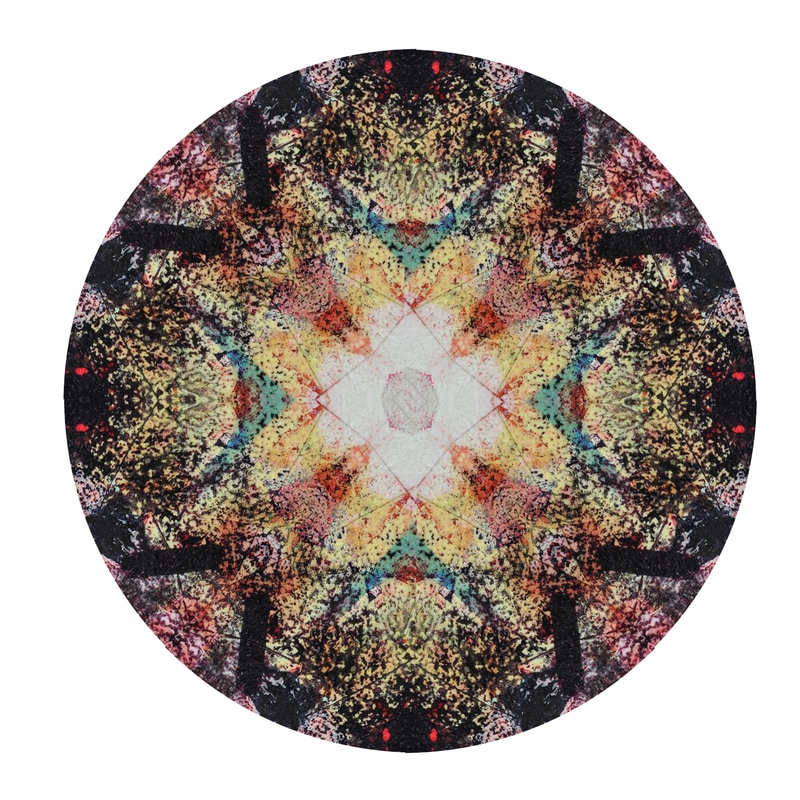
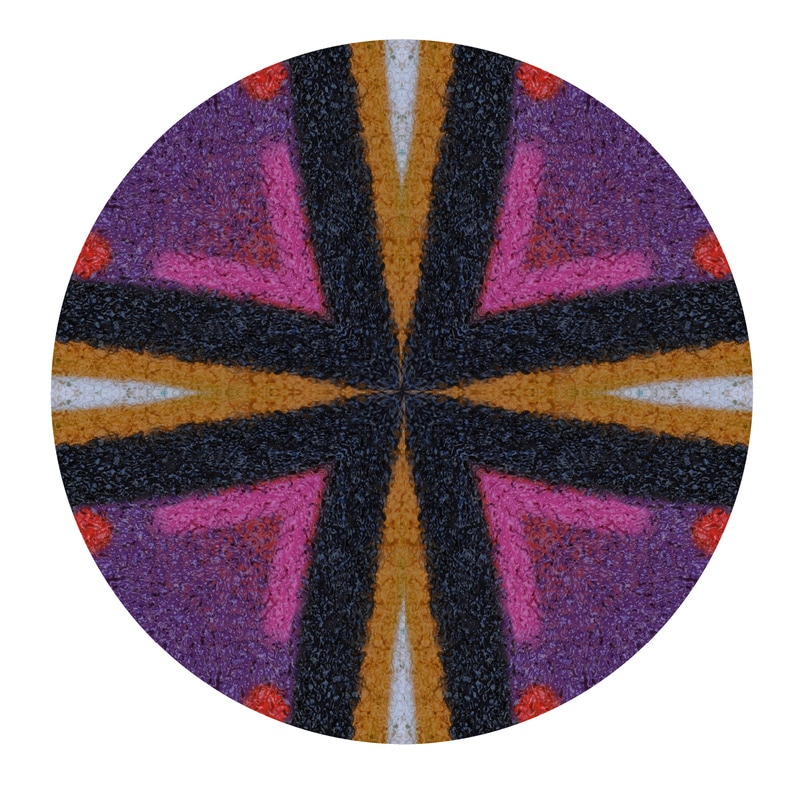
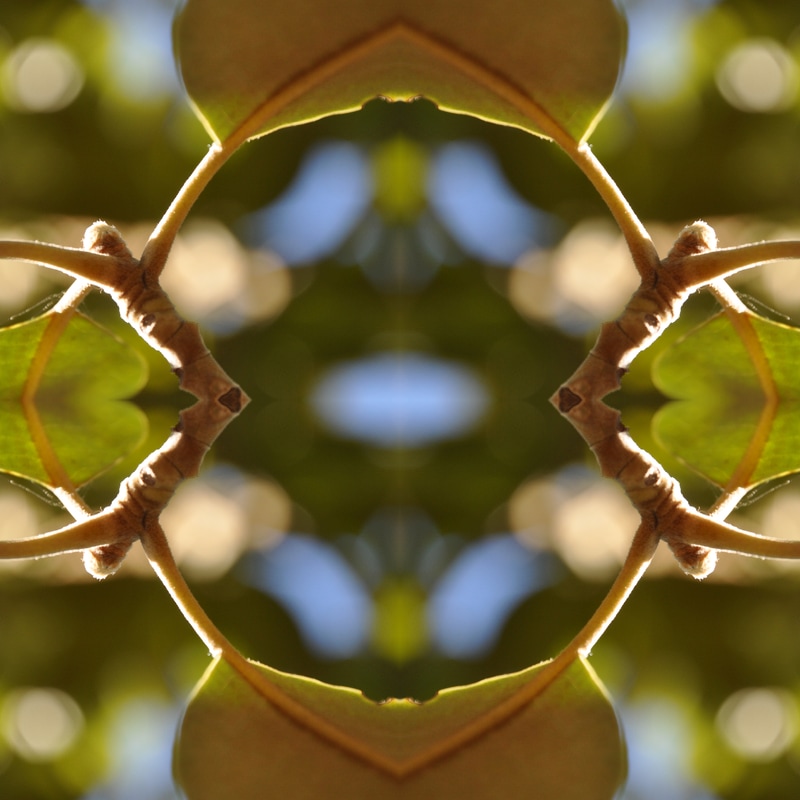
      What a mandala means to me is a part of a picture that has been zoomed in and creates something spectacular.
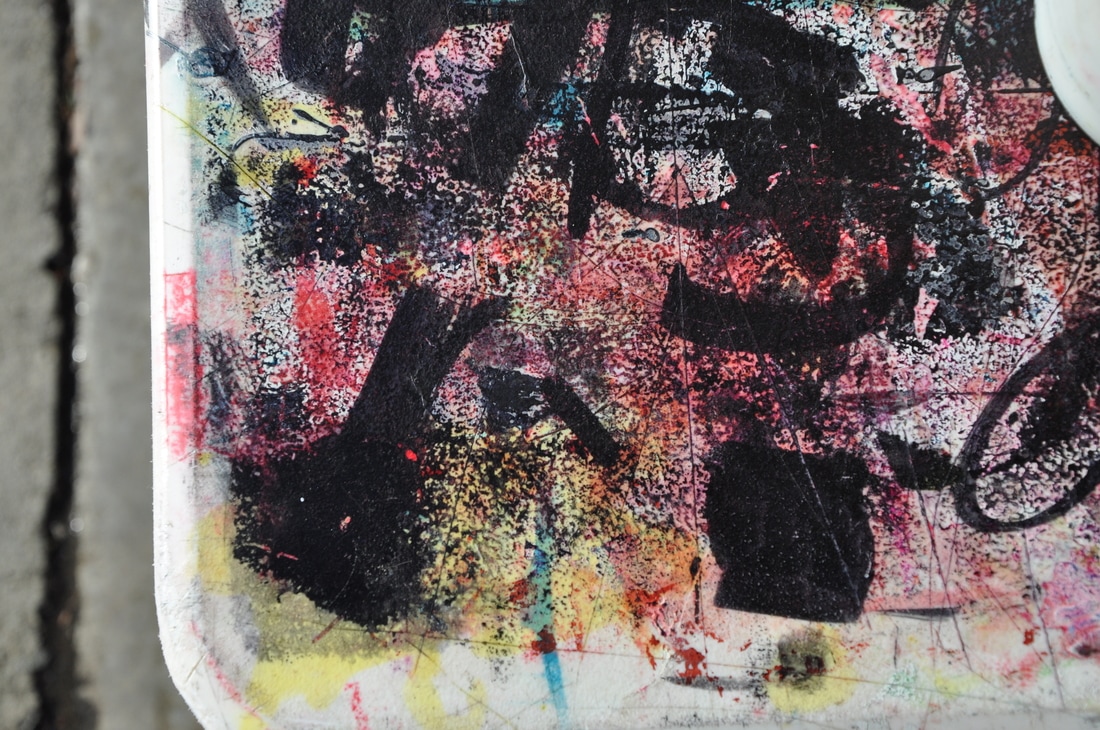
2. The way I created the mandalas was by using a template ms moncure gave us. With that I picked out several pictures I saw that had lots of color. After that I cut the image to the size of the template. Then merged the layers and connected them with gaps. 3. What I like about making mandalas was the way we made them become into its final product but also learning to make it in a different way then they told us because the template was bit wonky. My favorite image is the one that I used from a table from ash that had a bunch of paint on and made it look super colorful. 4. What I struggle with was trying to make some of the part of the picture fit the template because it wasn't measured right but quick enough I was able to fix it. 5. What I would have done differently was not follow the template completely but only follow half of it then merge the layers then after duplicate so they become perfect replicas of each other.
0 Comments
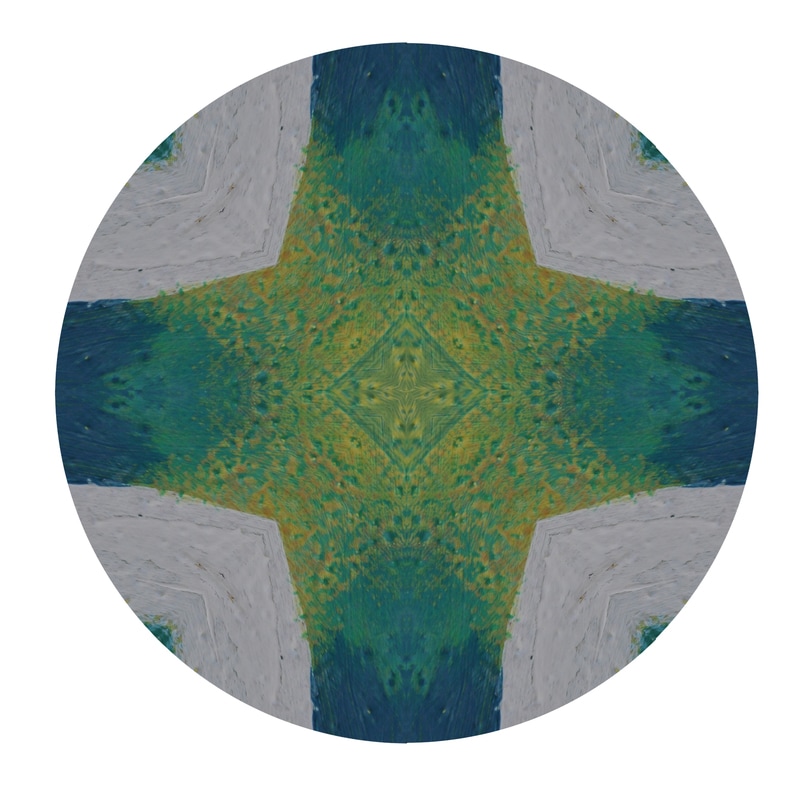
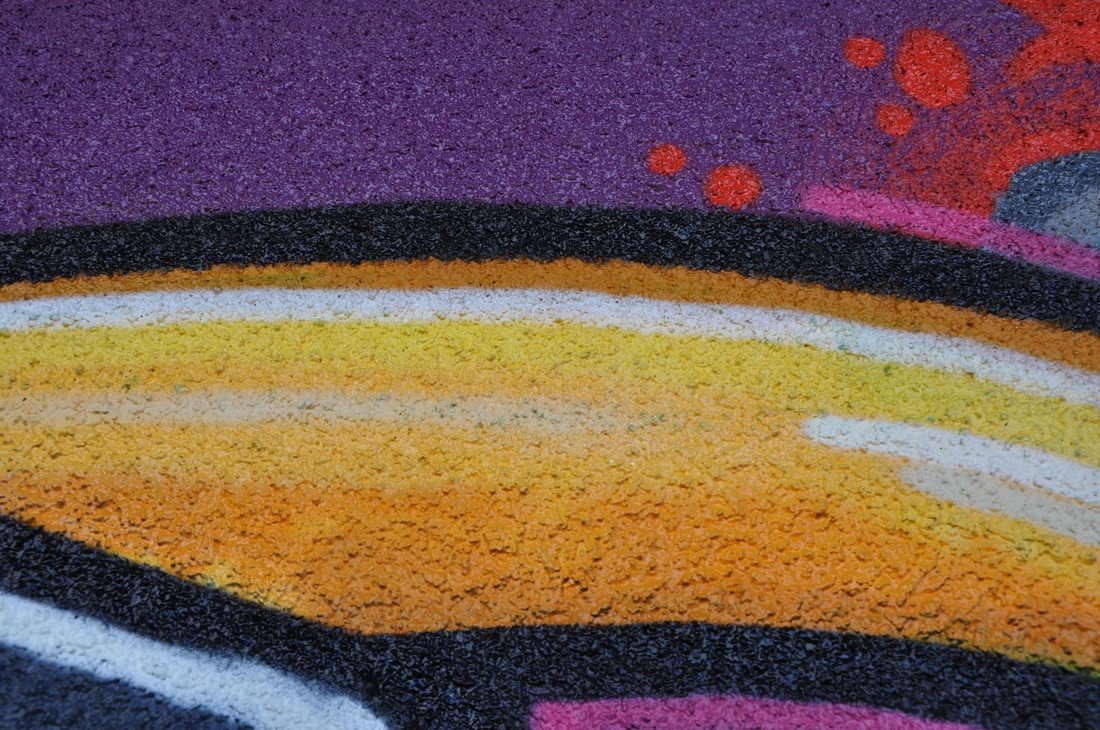
   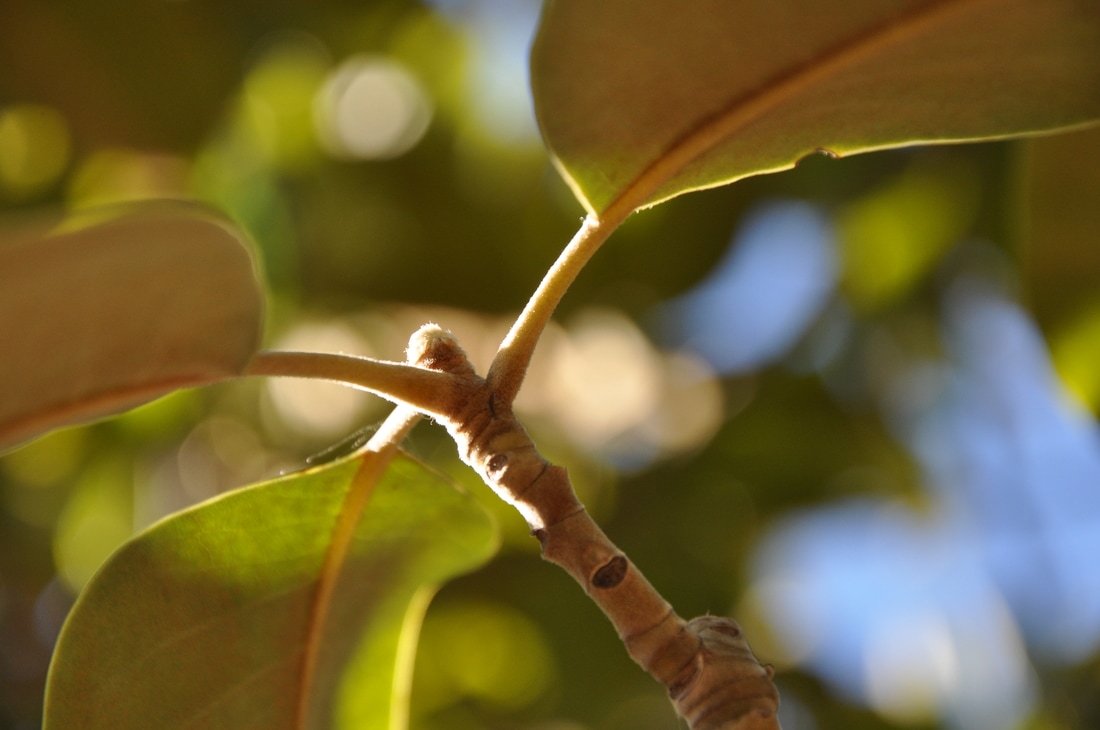 1. A tessellation is a process of tilting a part of a picture and making it connect with no gaps into a circular form.
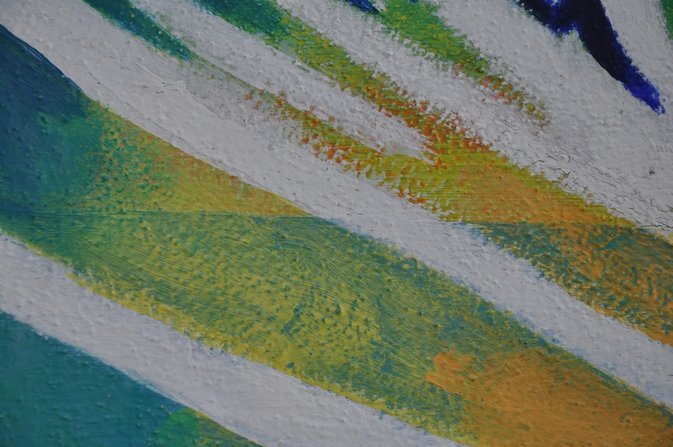
2. How I created my tessellations was mostly by following the instruction our teacher gave us. Firstly I picked a picture. After I picked my picture i used the crop tool and zoomed into a part I liked and used one of the templates the teacher gave us and used the quick selection tool then paste it. After I did that one more time I merged the two layers. Finally made all the layer match and connect with no gaps. 3. What I liked about making tessellations is that it made me find new ways of creating tessellations because there were several road bumps along the way. My favorite picture was the one I took of a table that had paint on it because I never knew it would come out the way it did. 4. I struggle with the process of making them being the size because the template had a lot of problems. 5. I would only used part of the template instead of the full template and make them all the same size. 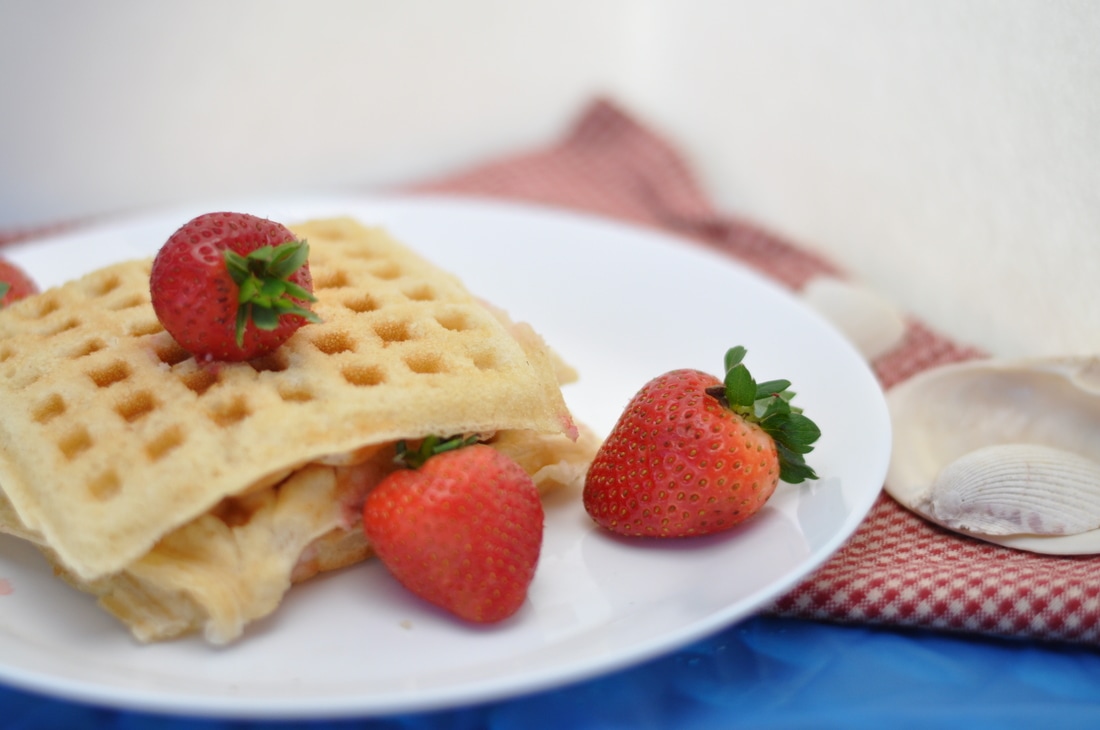 ISO: 400 Aperture: F/1.8 Shutter Speed:1/4000 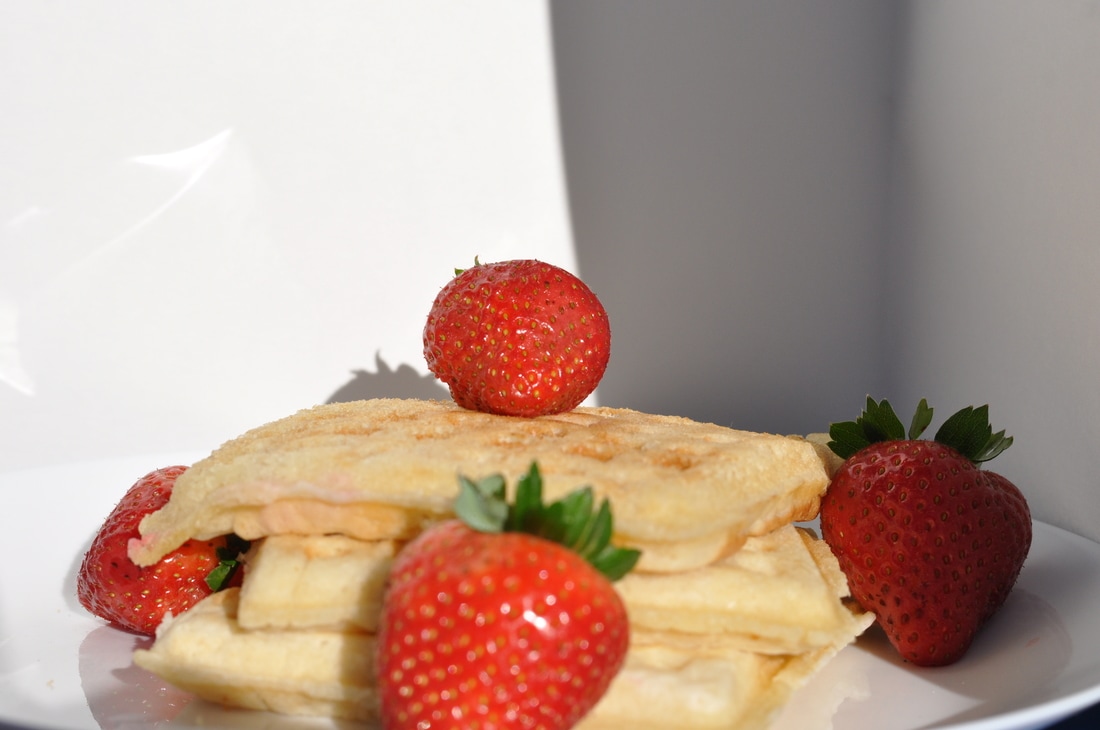 ISO: 400 Aperture: F/8 Shutter Speed: 1/1,500 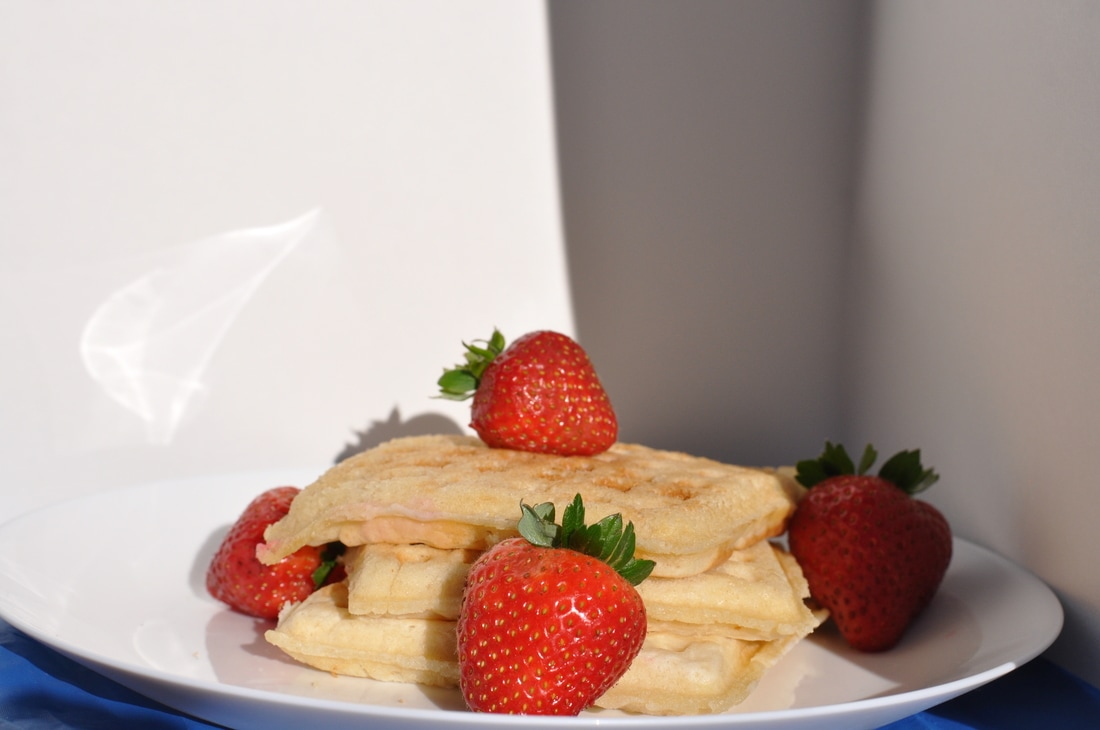 ISO: 400 Aperture: F/8 Shutter Speed: 1/2,000 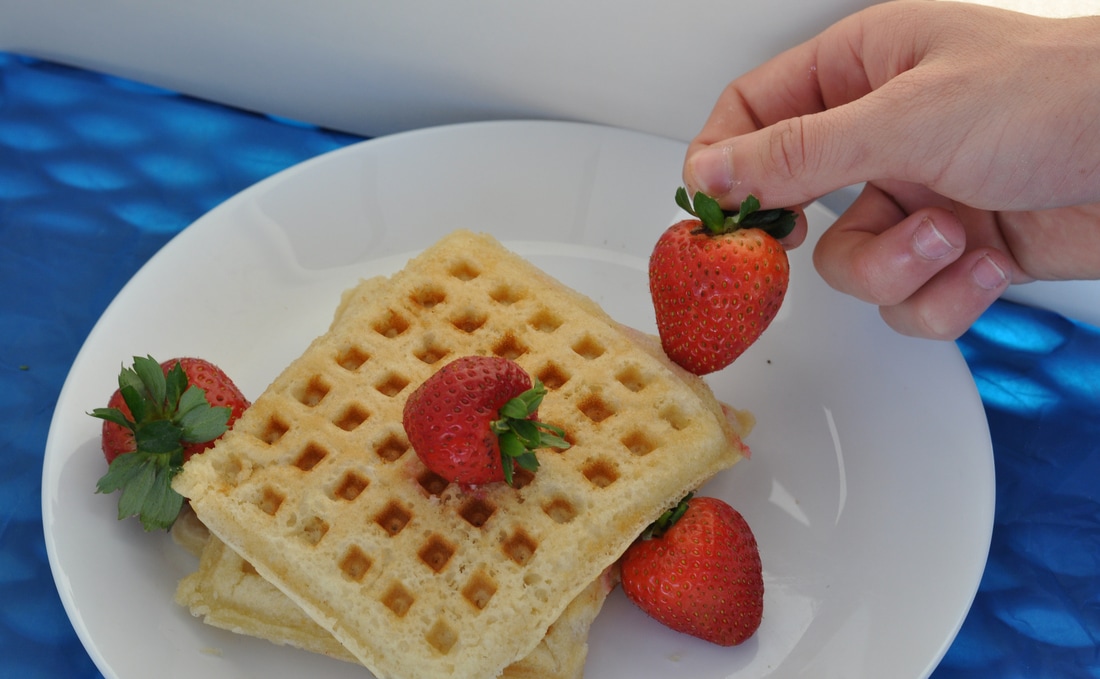 ISO: 400 Aperture: F/8 Shutter Speed: 1/180 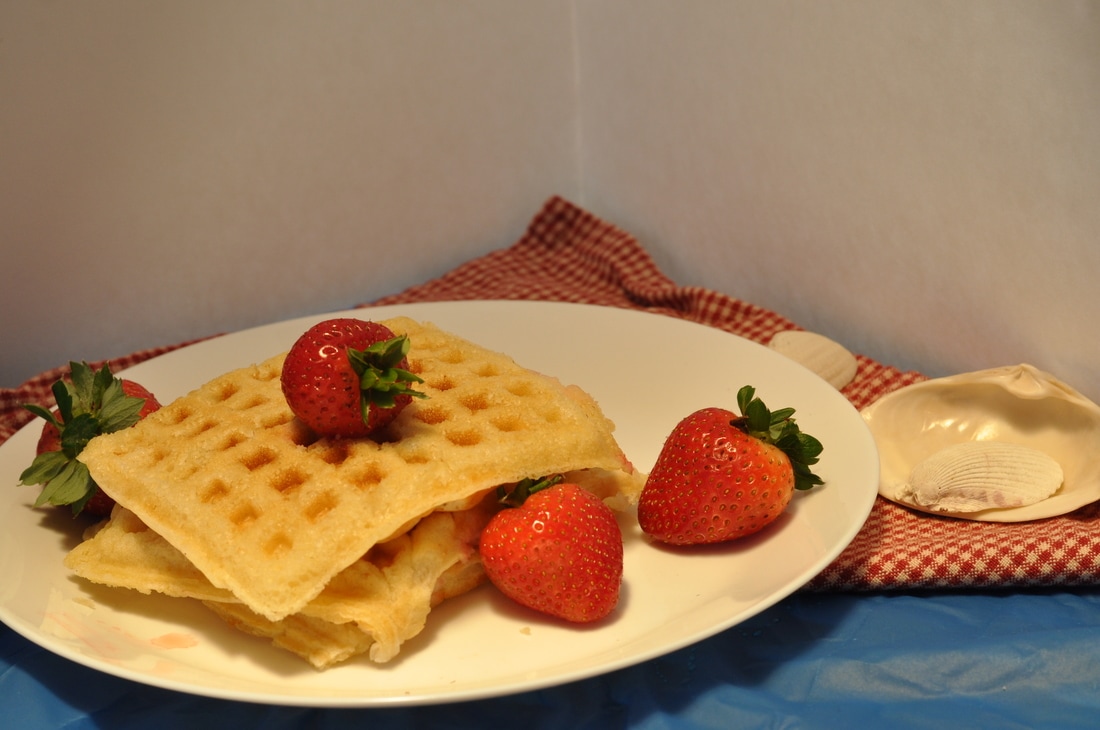 ISO: 400 Aperture: F/8 Shutter Speed: 1/2,000 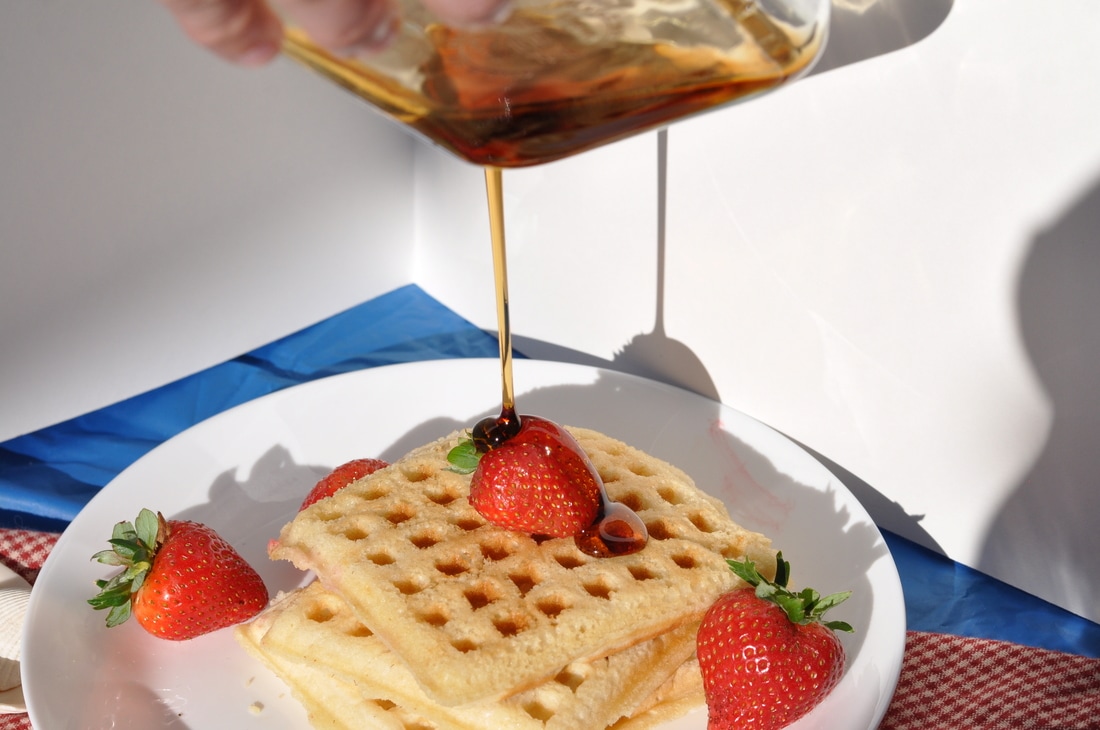 ISO: 400 Aperture: F/8 Shutter Speed: 1/1,500 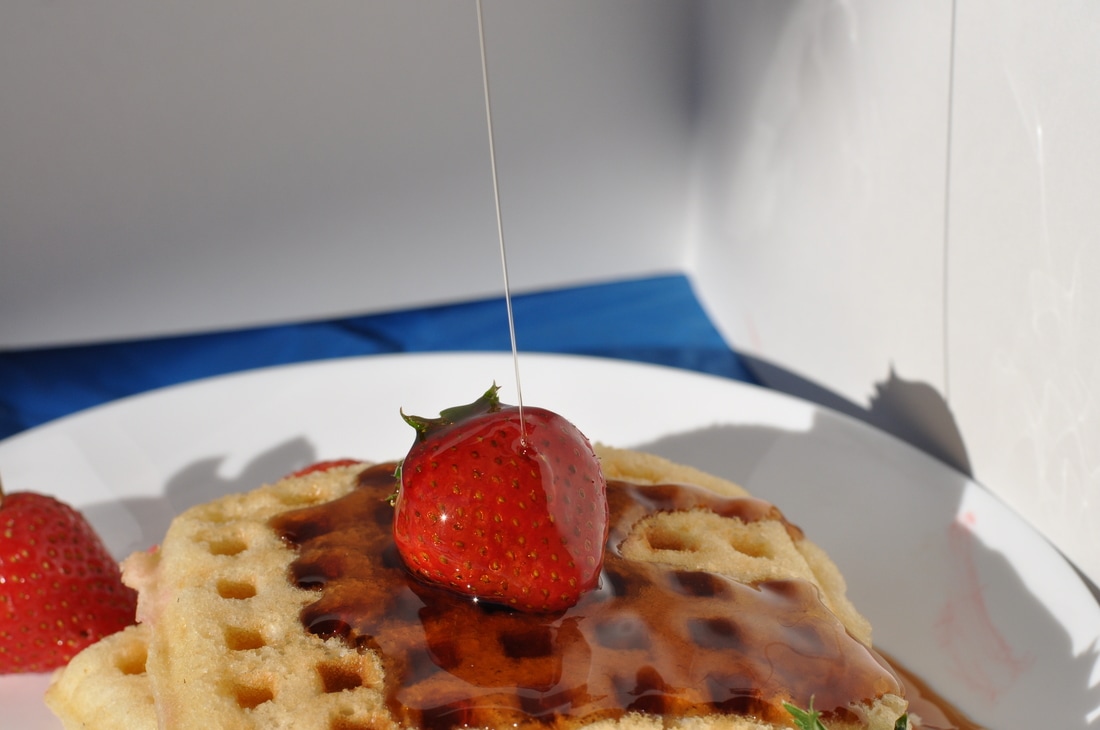 ISO: 400 Aperture: f/8 Shutter Speed: 1/1,500 1. What I brought for my food photography is a few waffles, strawberries, and some syrup. What I use for props I used items from Ms Moncure basket of items such as table cloths and the white backdrops. Also a checkered napkin with some sea shells.
2. Five things that I learned were lighting is key, the backdrop matter, props are always used, its mostly fake. As well as learning how to set up your food for it to be aesthete to be eaten. 3. What I did to make my picture look like the picture that I found online is that I focused in one item in the plate and make it aesthetic. Especially with props in the back of your plate. 4. The things I learned was that sometimes you don't even need natural light and its all staged to last together more. 5. Some careers or business that use food recipes, major food business, most magazines about food. As well as social media trend 6. I think I was successful in the concept of making a nice picture to see a white background.  In the future, I plan to be a civil engineer. That is why I picked this image to represent my future as an engineer. I used the photoshop layer mask tool to crop my face into the man. The man is showing how engineers have to make decisions in the site with other people. Also this is showing how you have to be able to work with others, which is something I can do. This was a bit hard to do because it's hard to take things off to crop out properly. This is a great tool to use and be able to do it in the future. 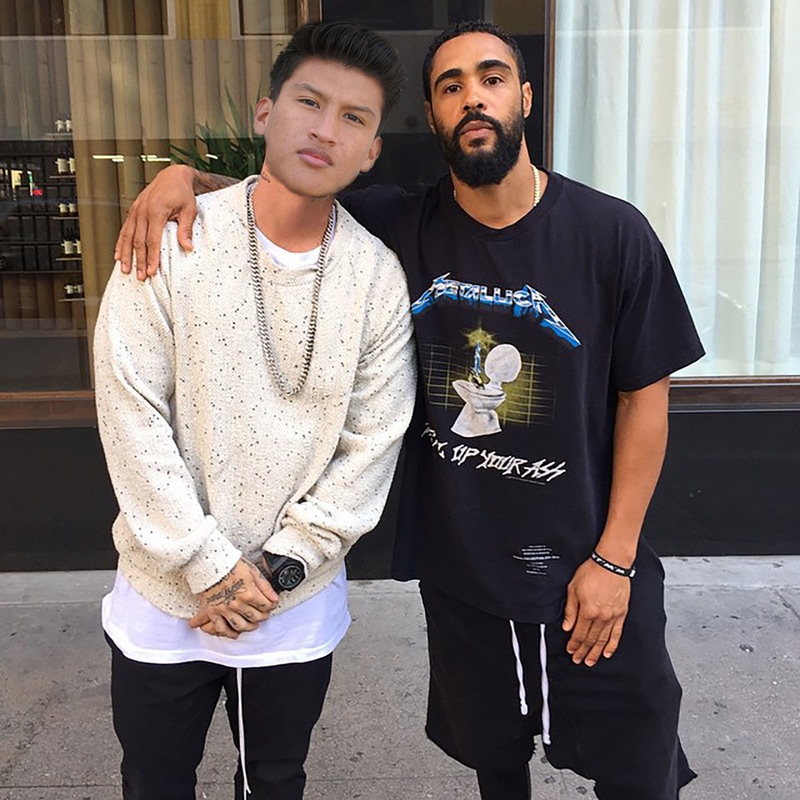 This picture is with something I want to meet in the future. The man next to me is Jerry Lorenzo, he is a clothing designer. I really like how he lives life and the way how he changes mens clothing out of nowhere. The way I cropped my face with somebody next to him, soon after I change the opacity of my face to align my head with his. Then I made the picture more realistic
 ISO 1600 Aperture-F/16 Shutter Speed- 1/40 Exposure-0 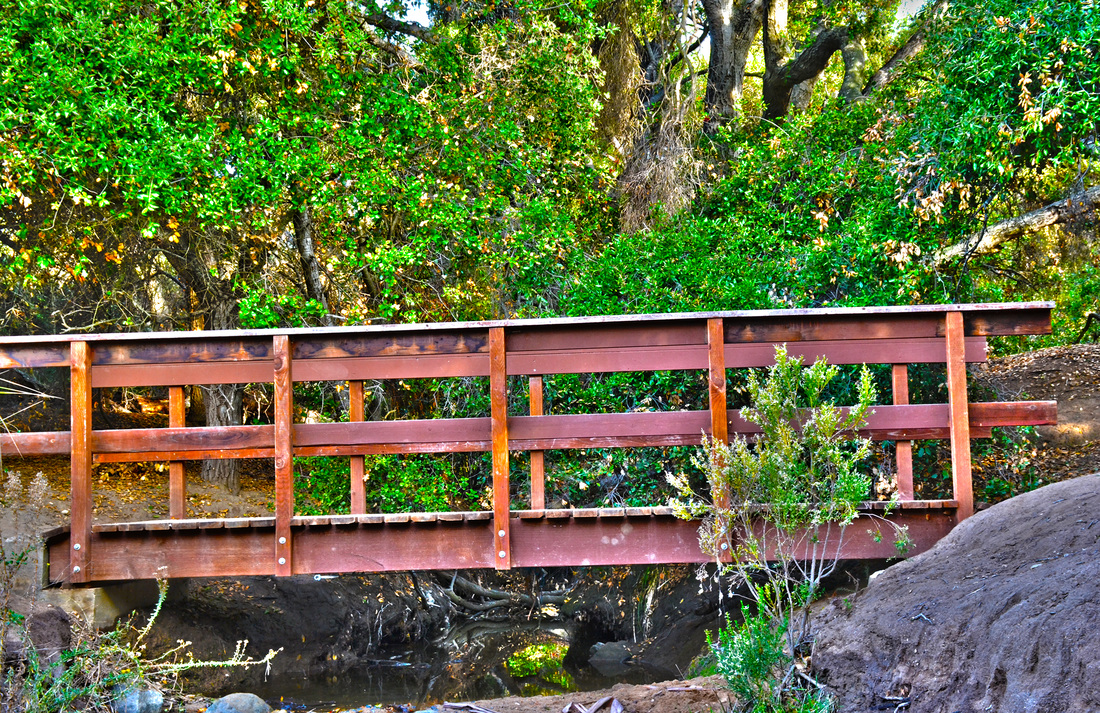 Symmetry 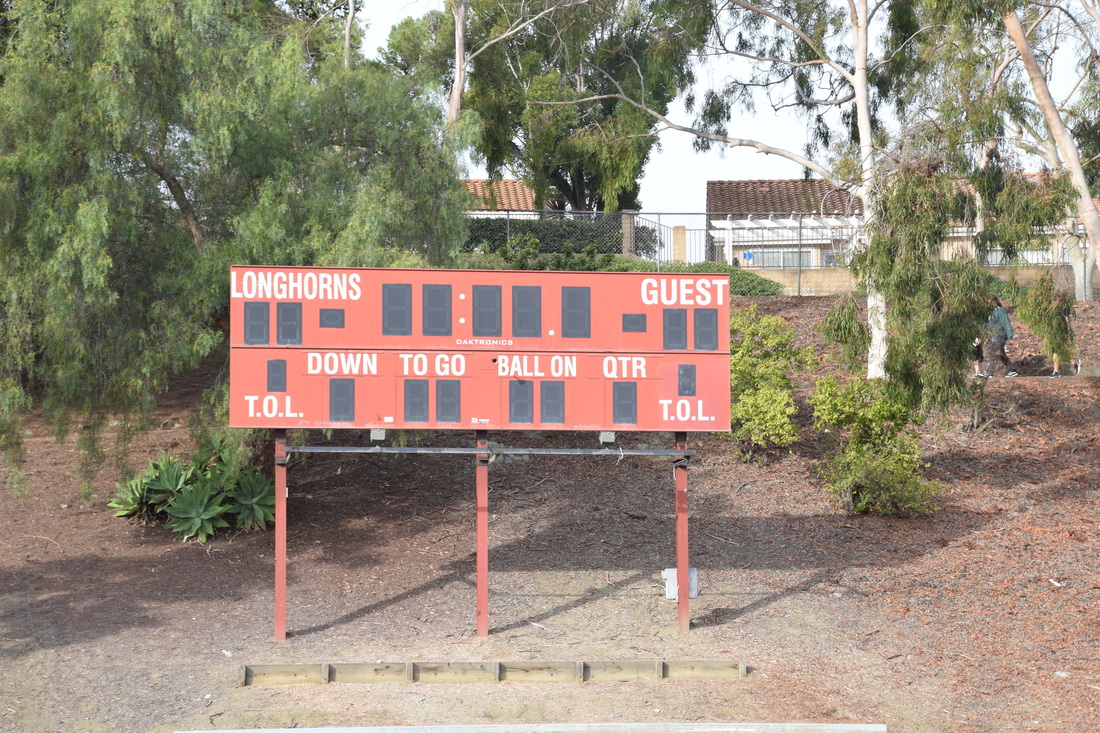 ISO-200 Aperture- F/8 Shutter Speed- 1/250 Exposure- 0 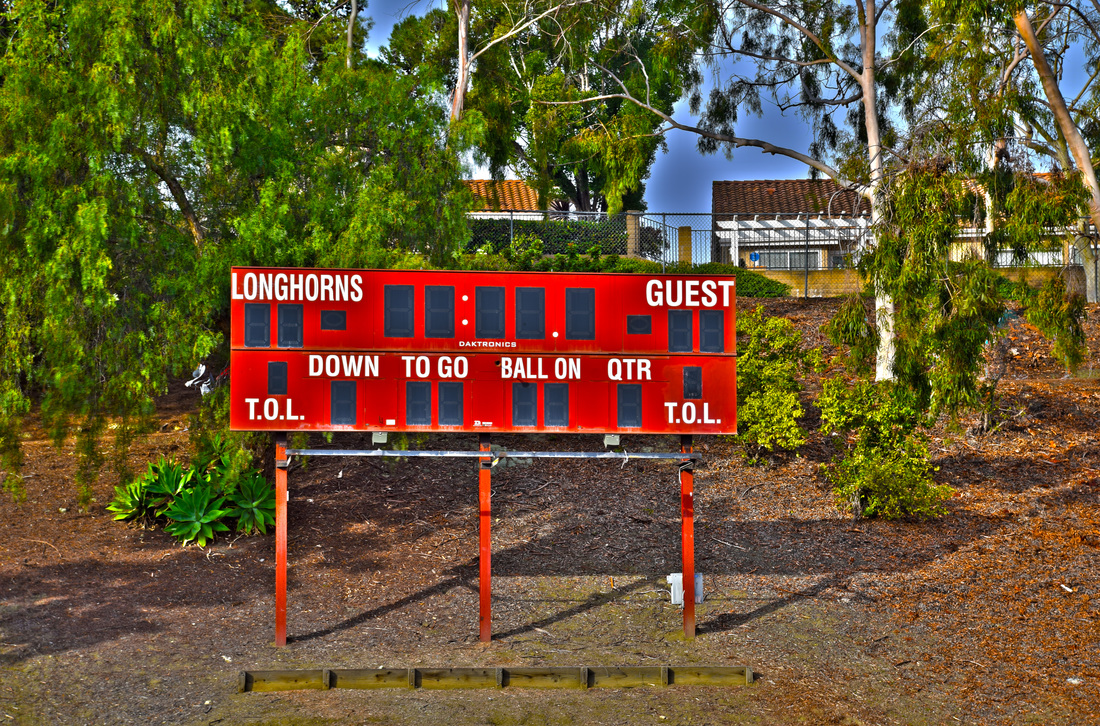 Rule of thirds  ISO-200 Aperture- F/9.5 Shutter Speed- 1/350 Exposure- 0  Crop 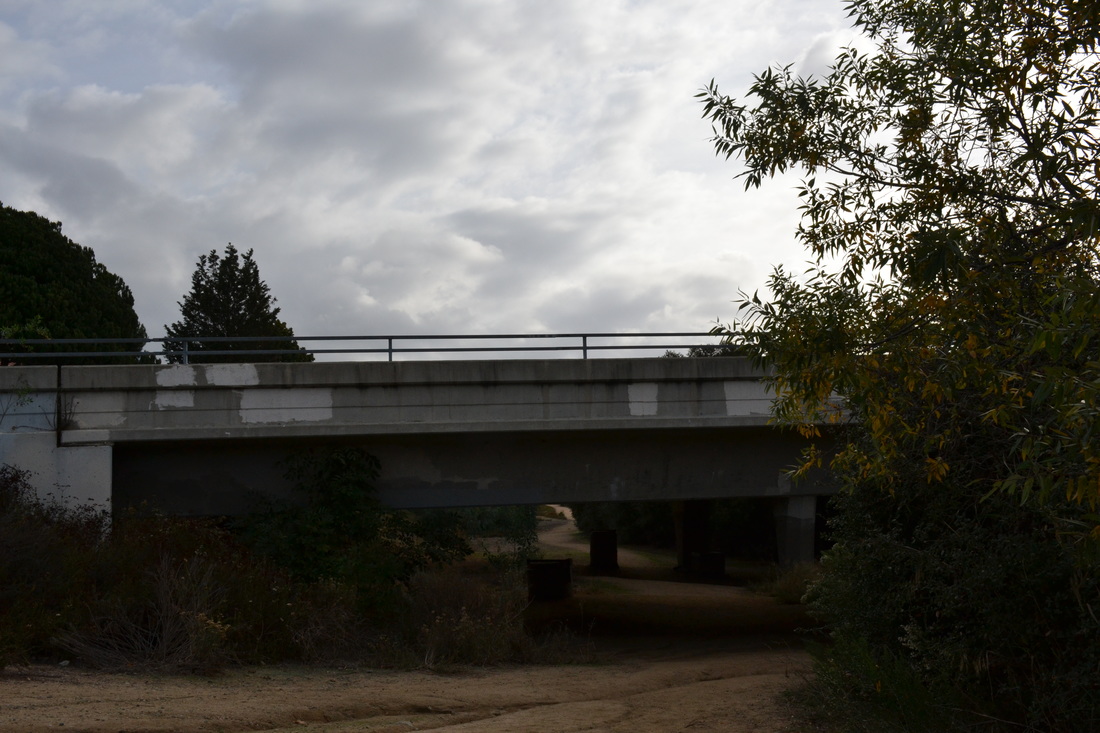 ISO-400 Aperture- F/16 Shutter Speed- 1/640 Exposure-0 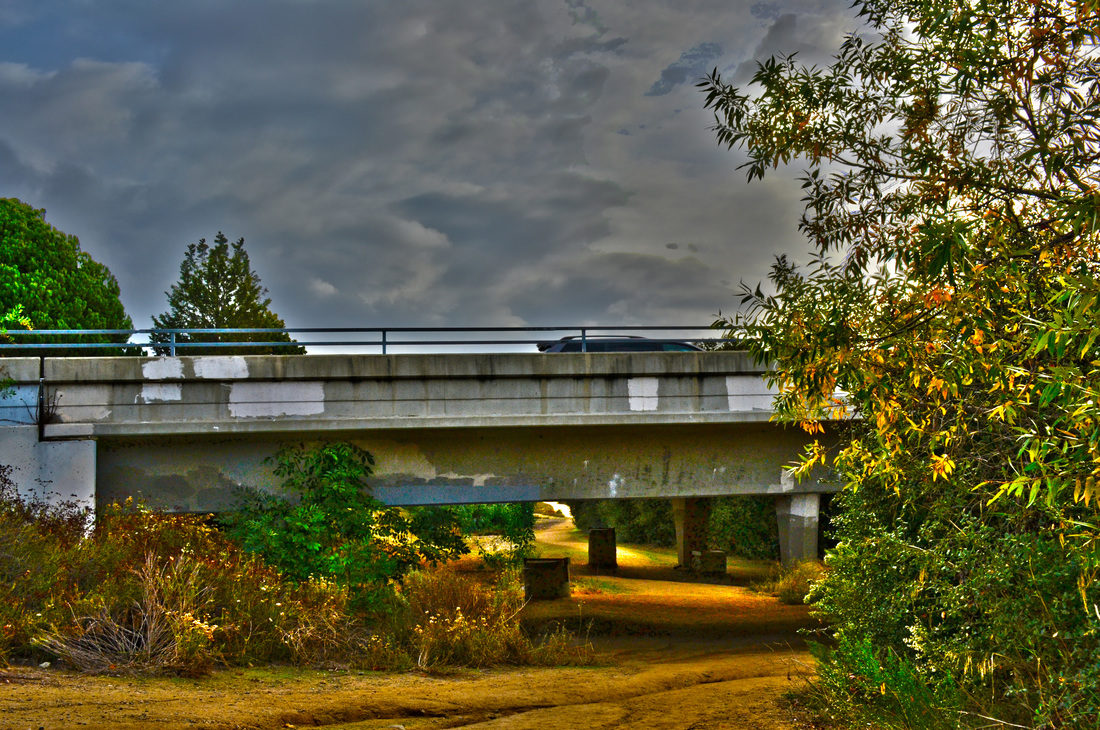 Framing 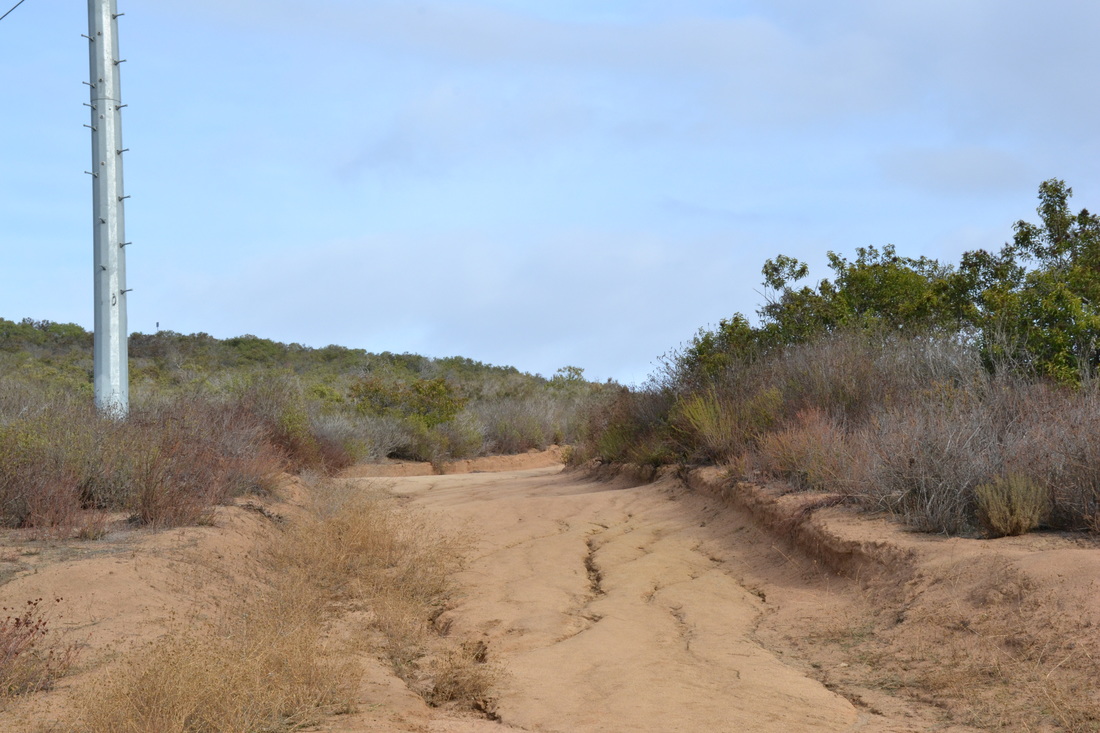 ISO-400 Aperture-F/16 Shutter Speed- 1/400 Exposure-0 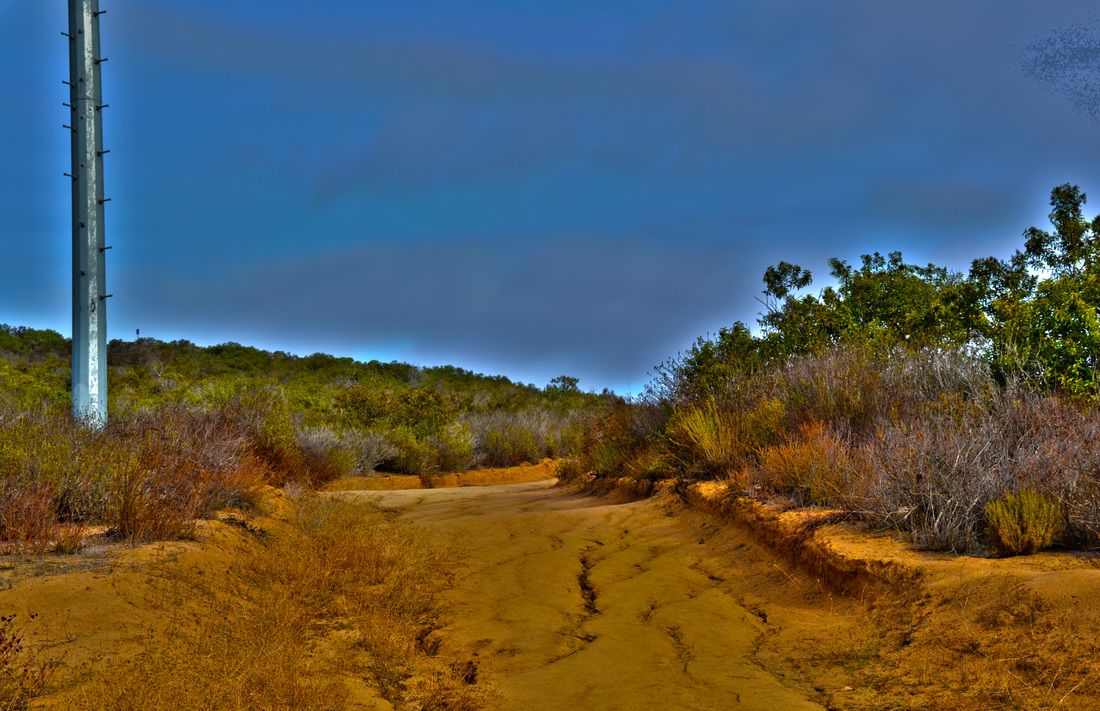 Leading Line What I did with my photographs was that I took my pictures at the duck pond. I had a tripod to take the pictures best framed because of the HDR pictures are made is by using many different exposures and combining them with the highlights and shadows of the picture. The first picture I put the tripod on a rock and made the bridge look symmetrical, the second pictures i made the score board be two thirds side of the image, The other bridge I used for framing because the frame of the bridge looked nice to me.
https://docs.google.com/presentation/d/1XzAF2x3dpImWoBeZJm5VjB1xzt31Au37ntAQWWgEQzM/edit?usp=sharing   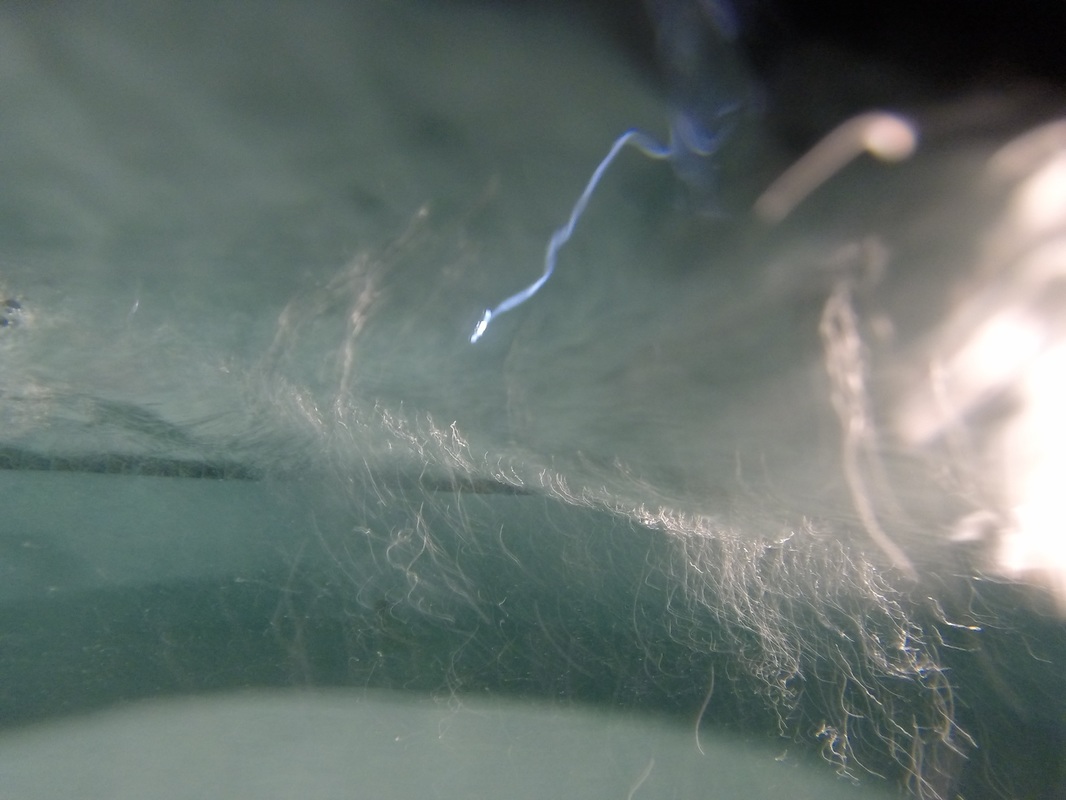 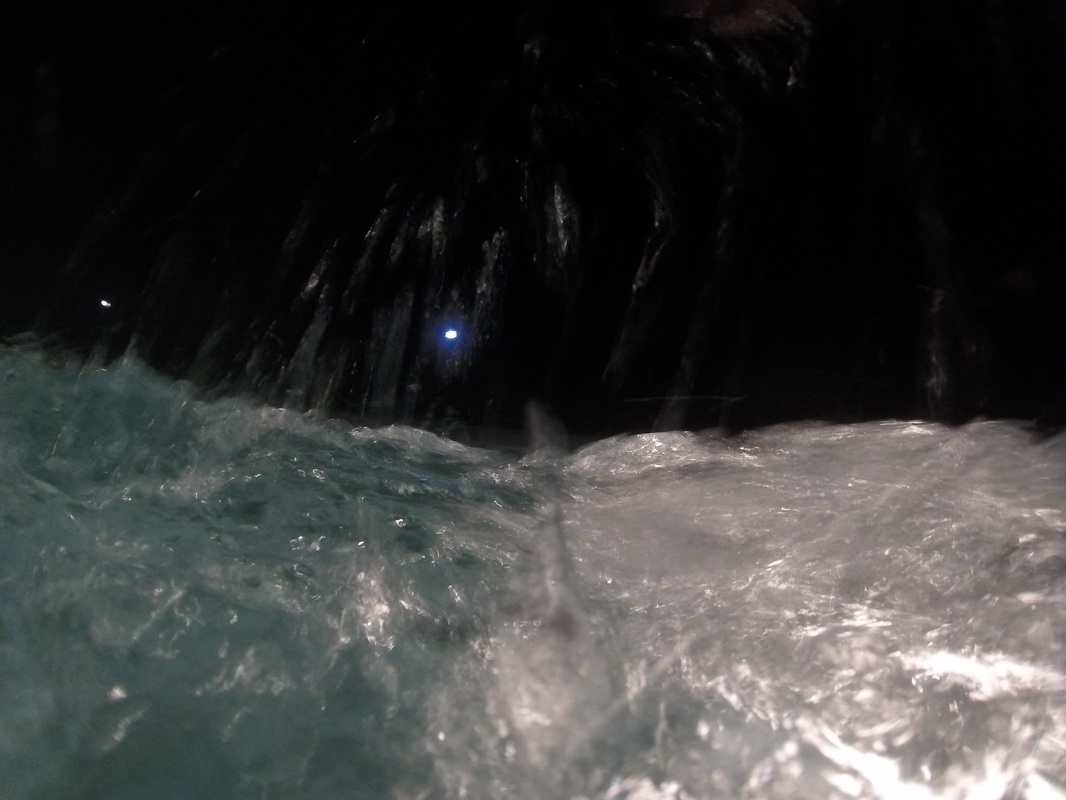 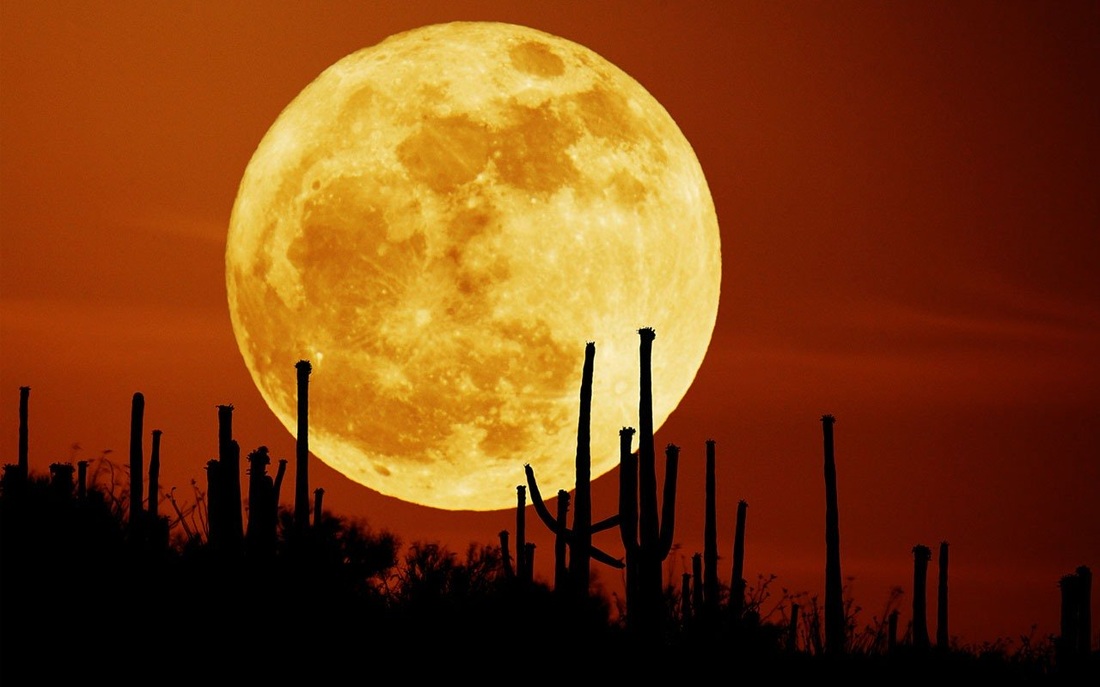 To photograph the moon:
1. Use a tripod! A flat surface will only allow you to shoot straight, and shooting the moon means that you'll be shooting up and constantly re-adjusting the tripod as the moon moves throughout the night. 2. Use a shutter release cord, remote or the camera's self timer if you don't have one, so that you don't move the camera when pressing the shutter release during a long exposure. 3. Use a zoom lens and zoom in as much as you can to the moon. It's okay if it's not a super fancy lens, this was shot using a 15 year old $100 lens. Focus in on the craters and details on the moon. 4. ISO 1250- 1600, so that you can use as fast a shutter speed as you can without losing detail-the longer the shutter speed, the more chances you have the camera will shake even slightly in the wind, resulting in an out of focus photograph. 5. Aperture priority of f/5.6 since you are not worried about capturing any details other then the moon. 6. Bracket your exposure, meaning over expose and underexpose the photograph from what the camera is telling you. Generally the camera will overexpose the moon, so you'll get nothing but a white blob in the sky. Use the exposure compensation button (the +/- button below the shutter release) and change the exposure to -0.5, then -1.0, then -1.5 and so on, until you start seeing detail in the moon. You may go as far as -5.0 exposure compensation to get what you need. 7. Take a fair amount of photos and keep refocusing as the night progresses. The photographs may look focused on the camera's display, but you won't really see if they're completely in focus until you upload them onto your computer screen. |
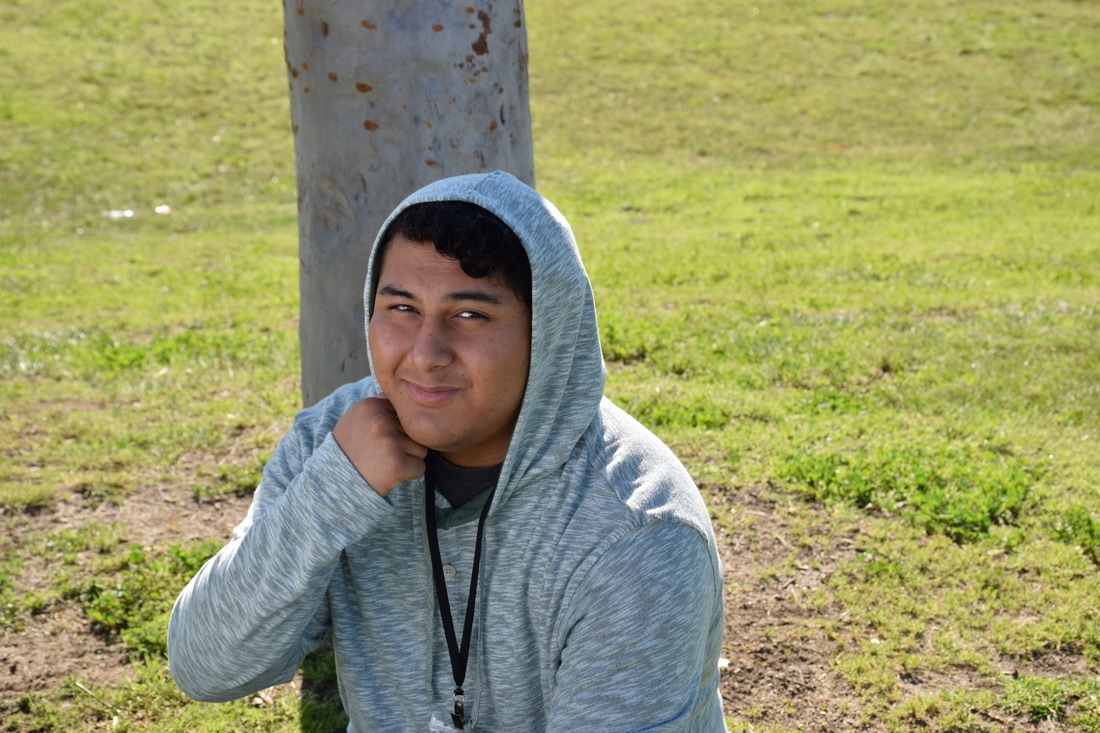
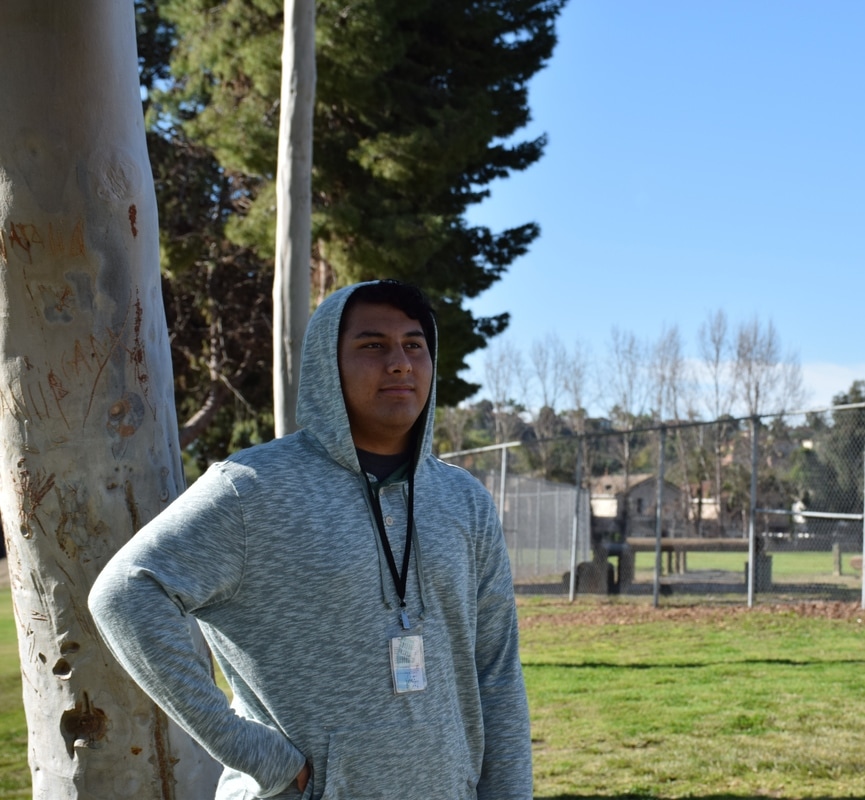
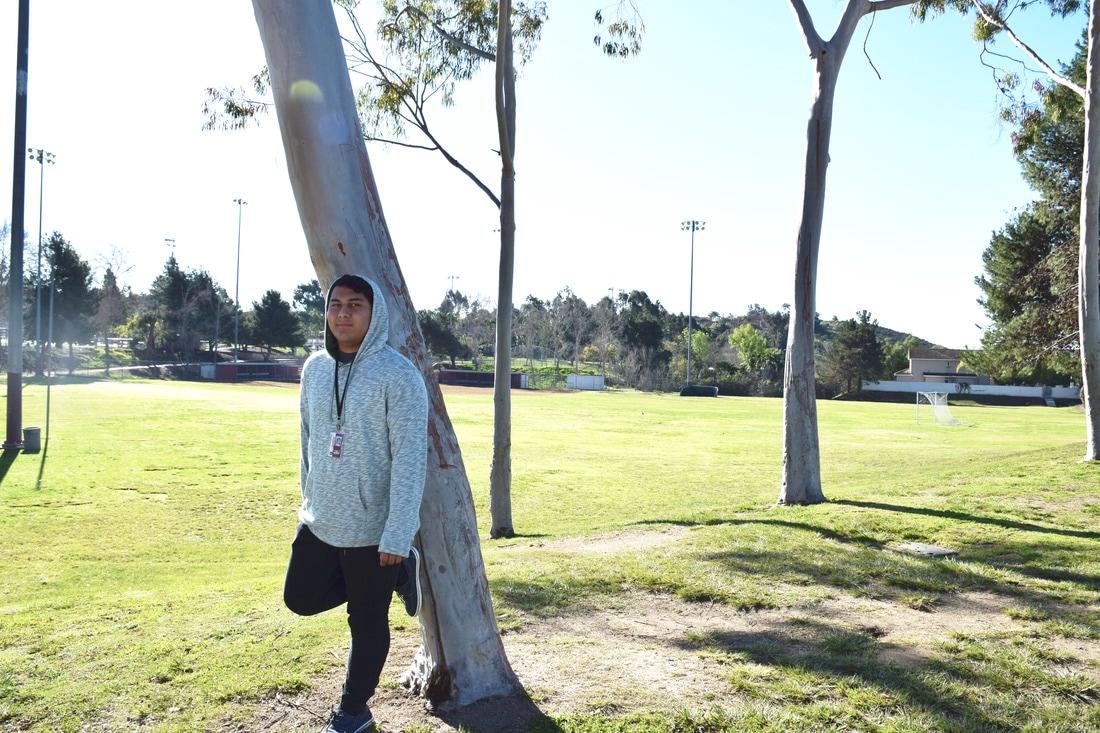
Angel PinalesArchives
June 2017
Categories |

 RSS Feed
